Stay connected
Subscribe to our Inside WEX blog and follow us on social media for the insider view on everything WEX, from payments innovation to what it means to be a WEXer.
Save 25¢ per gallon for 3 months§ with the WEX Fleet Card. Hurry, offer ends TODAY. Learn more

On April 25, 2018, over 11,000 trucks were pulled over for surprise brake checks during Brake Safety Day from the Commercial Vehicle Safety Alliance (CVSA). Almost 1,600 (14 percent) of those trucks were immediately placed out of service for brake violations. For 2019, commercial drivers face a full week of surprise inspections from September 15 to 21. In order to prevent costly delays, fleets should inspect all brake systems now, paying special attention to the brake hoses/tubing.
“Routine brake system inspections and component replacement are vital to the safety of commercial motor vehicles. The brake systems on commercial motor vehicles are comprised of components that work together to slow and stop the vehicle and brake hoses/tubing are essential for the proper operation of those systems. Brake hoses/tubing must be properly attached, undamaged, without leaks and appropriately flexible. Brake hoses/tubing are an important part of the braking system so when they do fail, they can cause problems for the rest of the braking system.”
– CVSA
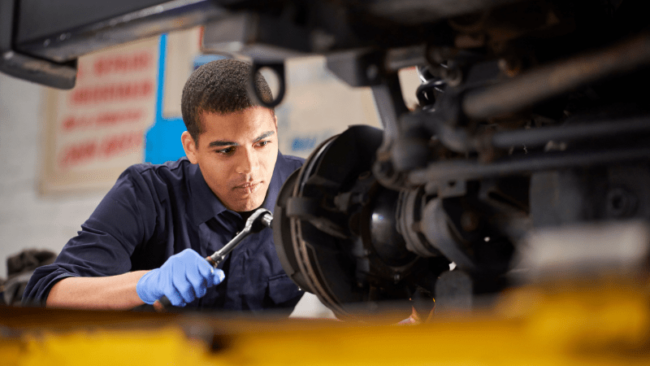
The following information is sourced from the CVSA Brake Inspection Checklist. To check a commercial vehicle’s breaks, you will need blocks/chocks, chalk, a small ruler, and either a brake application device or a second person to assist.

If last year was any indication, this year’s brake safety checks could be hugely disruptive to fleets. Use this checklist to ensure that your fleet stays moving and productive during Brake Safety Week 2019.
Subscribe to our Inside WEX blog and follow us on social media for the insider view on everything WEX, from payments innovation to what it means to be a WEXer.